Just a quick update on things after realising I hadn't updated this blog for a long time. I am currently employed as an administrator for a company and have been for nearly a year now. Unfortunately this has left me with very little time to work on my own projects, not that it's stopped me from doing any interesting things along the way. Since my last post I have been able to work with BRAMBLETYNE again as a comic letterer for their most recent graphic novel, Project Autumn. Previously I worked with them on the Far From Faith comic series (Issues 2 & 3).
|
So I have a small cupboard in my room (usually to my left, as I'm often at my computer), that I started making just before I started this blog. I had completely forgotten to post about it because it's been in place for a little while. I made some shelves to go in it today (hence the post), but no texture for them yet. 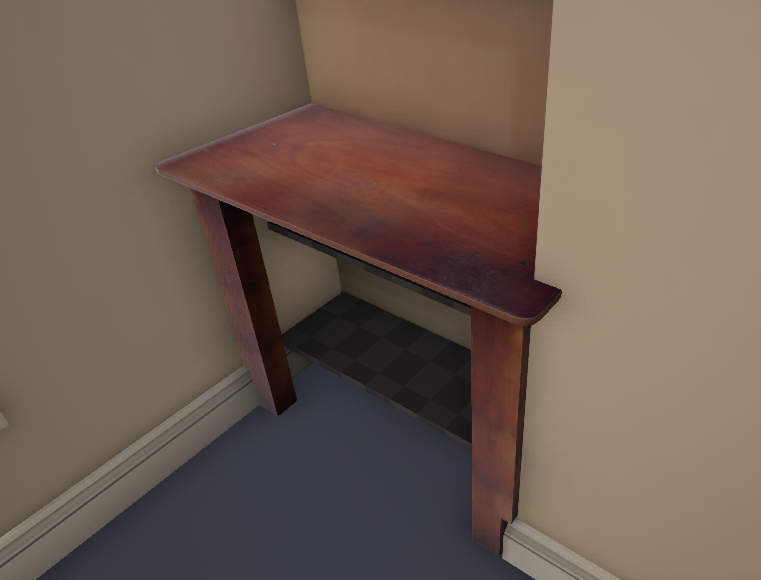 Small Cupboard without the doors. I had to composite two normal maps together to get the effect I wanted for the cupboard. One was the high poly to low bake that gave the top rounded edges, while the other (created using the Xnormal plugin for Photoshop) added a wood grain based on the diffuse texture I created from photos of the cupboard.
Today was quite productive, as I also created Cable Trunking to go on my walls (yes there're a lot of them around the flat). Turned out quite nicely after using Xnormal to get it the maps I needed (though the lightmap is giving me a couple of issues at the moment). I haven't included an image of it in this post but I'm sure they'll turn up in later ones just from screenshots of other things. The next asset I decided to work on was a set of plug sockets (UK fittings). I wanted to dedicate a bit of time and effort this one, to try and make it look like the real deal. As it stands, the model is currently 310 polys (620 tris) and has an Albedo, a Normal, a Specular and a Metalness map. I learned a lot from working on this model. I've gotten a bit better with baking in 3D Max and this is the first time I've prepared maps with PBR in mind; in particular, I learned the importance of 'Roughness' in the material editor and what it actually does.  Low lit view from the front. 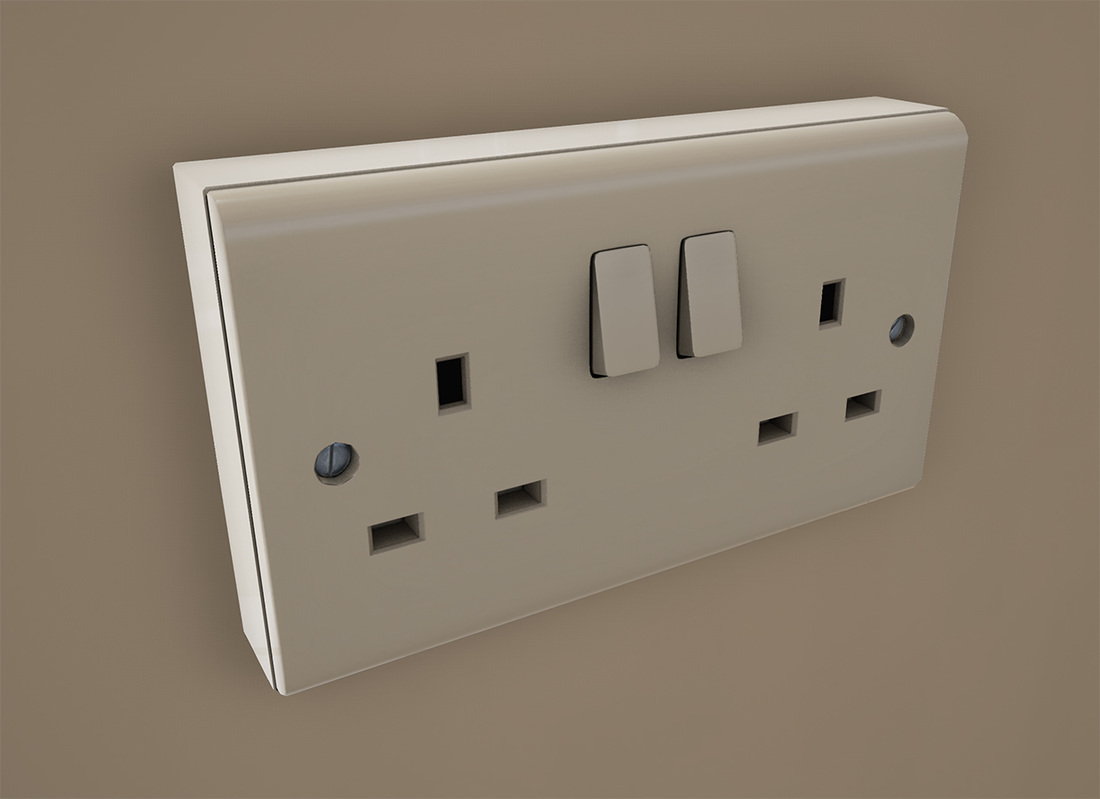 3/4 view showing the details. Some of the maps need a little work. The prop looks pretty good in Unreal 4 but it still needs a bit of work. The normal map has some harsh seems in places, as well as a couple of small imperfections. I can fix these in Photoshop but I may end up re-baking with some changes to the model after some very useful feedback on Facebook.
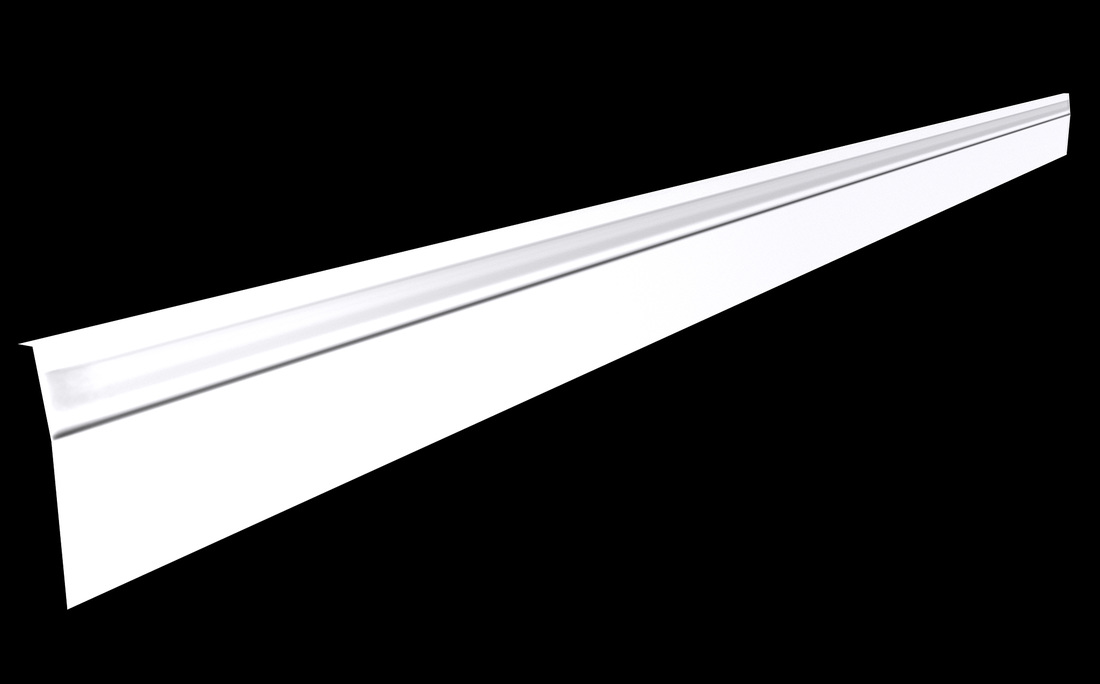
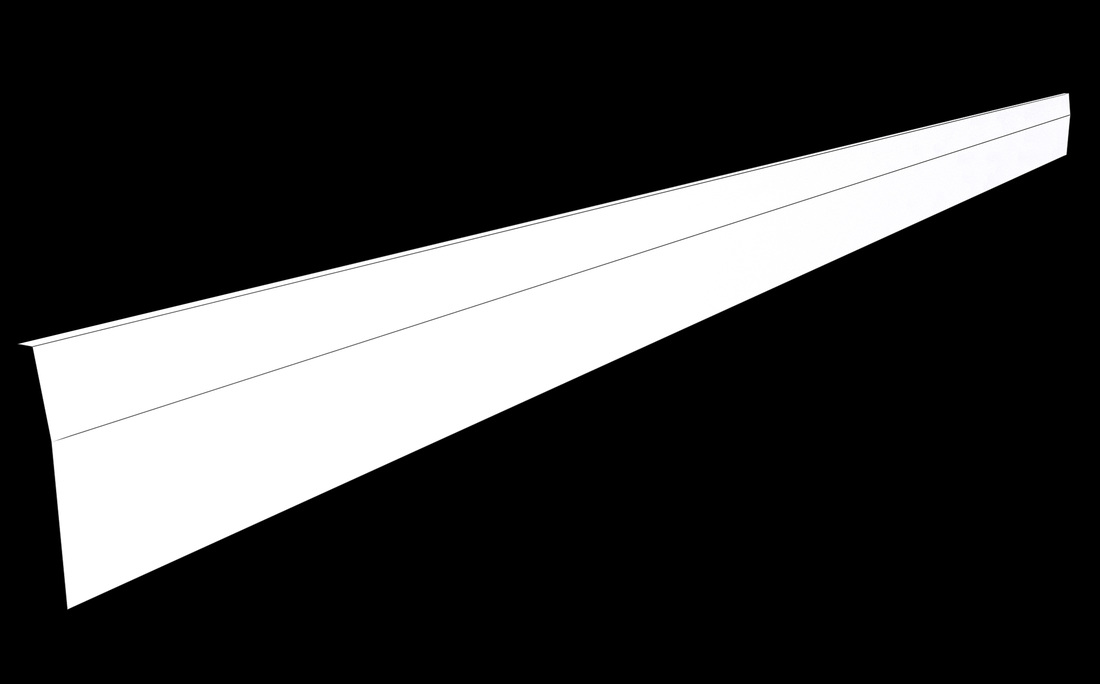
My first environment prop for the room was the skirting board. This was to act as a test to see how much I knew about baking textures from high poly models, down to lower poly equivalents. Apparently I'm actually fine with simple hard surface models like this, as there were no real issues with the bake. I created the finished Normal Map and an Ambient Occlusion Map in 3D Max, though I also tried it using Xnormal. Max gave much superior results in this case.
The finished model is only 3 polys (6 tris) and looks quite good in engine. I still have to give it some colour information through a diffuse or albedo map, which will require me to make a more detailed specular map as well. 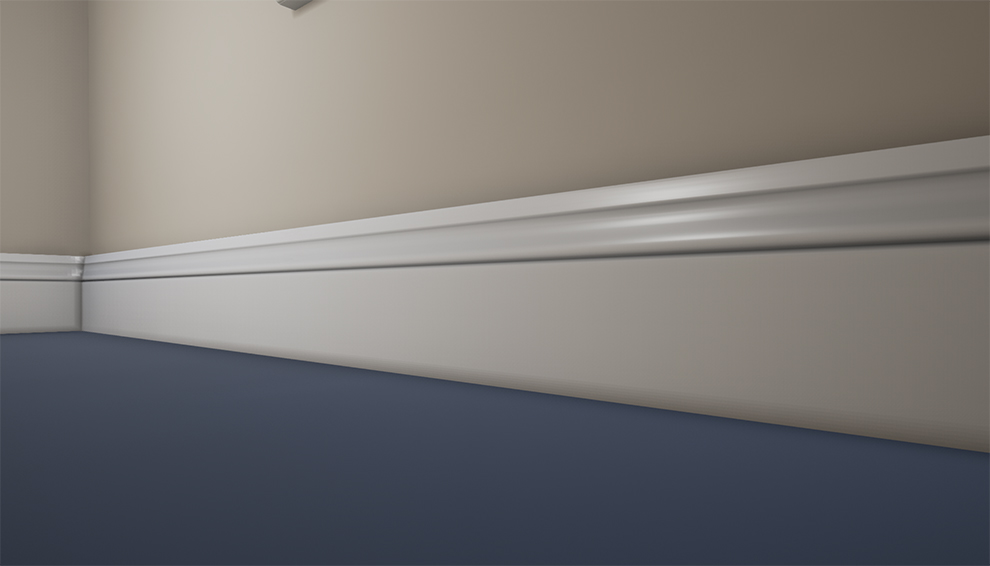 Shot of the model in engine. Still no diffuse texture. |
AboutThis blog shows some of my works in progress to show my workflow and learning. ArchivesCategories |
 RSS Feed
